
The five highest-impact LED strip placements are behind the TV, under kitchen cabinets, around a bed headboard, along a ceiling perimeter, and on outdoor railings or steps. Each solves a different problem: bias lighting behind the TV cuts eye strain, under-cabinet strips add real task light, a headboard halo builds ambience without a lamp, ceiling cove lighting makes a room look taller, and outdoor accents add both style and step-edge safety.
- Behind TV: warm white (2700K to 3000K) for evening viewing comfort.
- Under cabinet: neutral white (3500K to 4000K) for actual task lighting.
- Headboard halo: warm white or RGBW for a soft, dimmable glow.
- Ceiling perimeter/cove: tunable white for flexibility across day and night.
- Outdoor railings/steps: RGBW or white, rated IP65 or higher for weather exposure.
Before sticking anything down, measure the run, confirm whether your setup needs 12V or 24V power, and test the whole strip lit up on the floor first. Skipping that last step is the number one reason DIY installs end in a returned roll of tape.
Key Takeaways
A durable LED strip install depends more on correct power sizing and mounting method than on color or brand, and that single factor determines whether the project still looks good in two years.
| Point | Details |
|---|---|
| Match placement to strip type | Warm white for bedrooms and TV bias, neutral 3500K to 4000K for kitchens and task areas. |
| Size power with 20% headroom | Multiply watts per meter by total length, then add 20% to avoid overheating. |
| Use 24V for long runs | Runs over 5 meters need parallel feeds or mid-run power injection to prevent voltage drop. |
| Mount with channels, not just tape | Aluminum channels and clips hold on textured surfaces and diffuse hotspots better than adhesive alone. |
| Source hardware from SavyCart | SavyCart stocks mounting clips, screws, and LED accessories with fast shipping for weekend projects. |
Table of Contents
- LED Light Strip Ideas for Every Room in the House
- How to Install LED Light Strips Without Common Failures
- Choosing Color Temperature and Controls That Look Intentional
- Outdoor Installs, IP Ratings, and When to Call an Electrician
- SavyCart Makes Sourcing Your LED Strip Project Easier
- Safety Precautions Every DIYer Should Follow
- Energy Use and Environmental Impact of LED Strips
- What Actually Matters in a Good LED Strip Project
- Get Everything You Need for Your LED Strip Project in One Order
- Sources
- FAQ
LED Light Strip Ideas for Every Room in the House
Good led light strips ideas come down to matching the right strip type to the right job, not just buying whatever’s cheapest at checkout. Here’s how that plays out room by room.
1. Behind-the-TV Bias Lighting
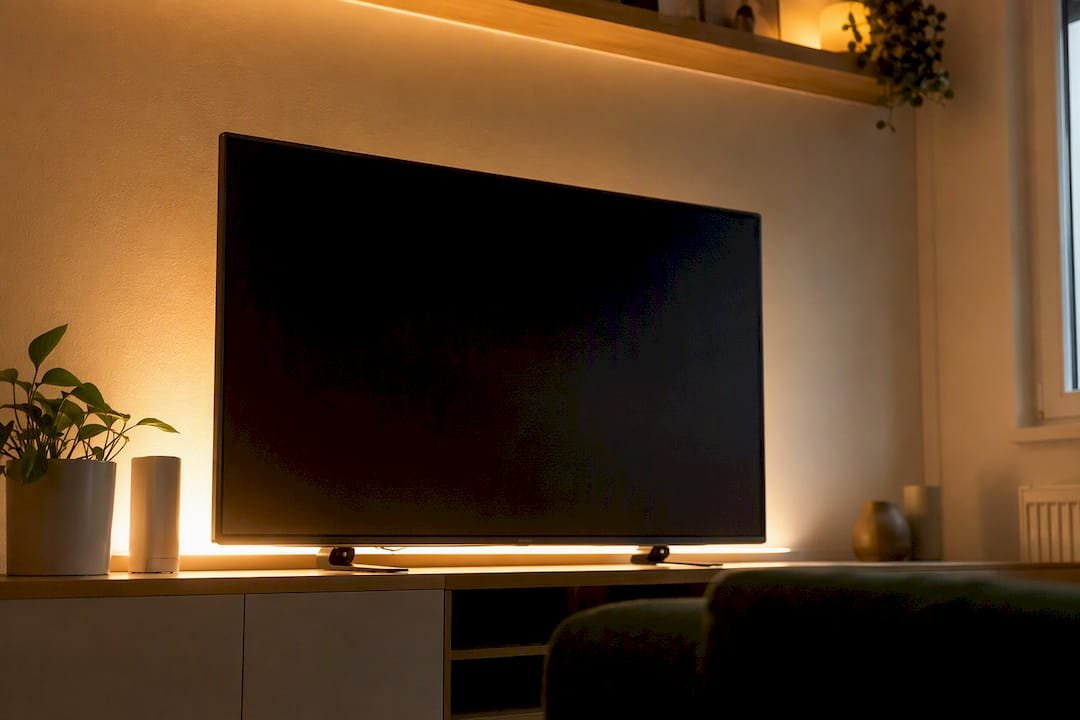
A warm white strip (2700K to 3000K) mounted on the back of your TV frame reduces the harsh contrast between a bright screen and a dark wall, which is why bias lighting is a common recommendation for reducing eye strain during nighttime viewing. Mount it with adhesive-backed clips rather than relying on the factory tape alone, since heat from the TV can soften adhesive over time. Difficulty: easy, about half an hour. If you’re setting up a home theater corner, a strip like this pairs naturally with a projector setup for a proper movie-night feel.
2. Floating Shelf Underlighting
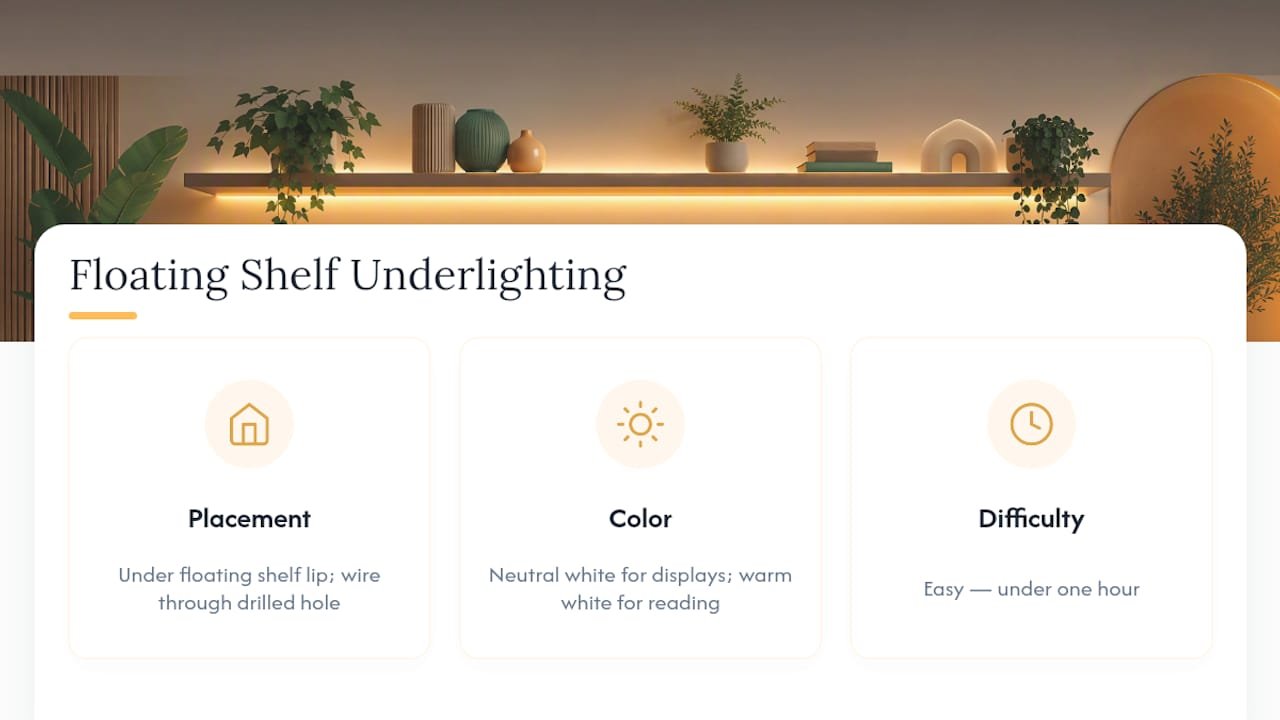
Tuck a slim strip under the lip of a floating shelf, running the wire back through a small drilled hole so nothing dangles. Neutral white works for display shelves; warm white suits a cozier reading nook. Difficulty: easy, less than an hour.
3. Ceiling Cove or Perimeter Lighting
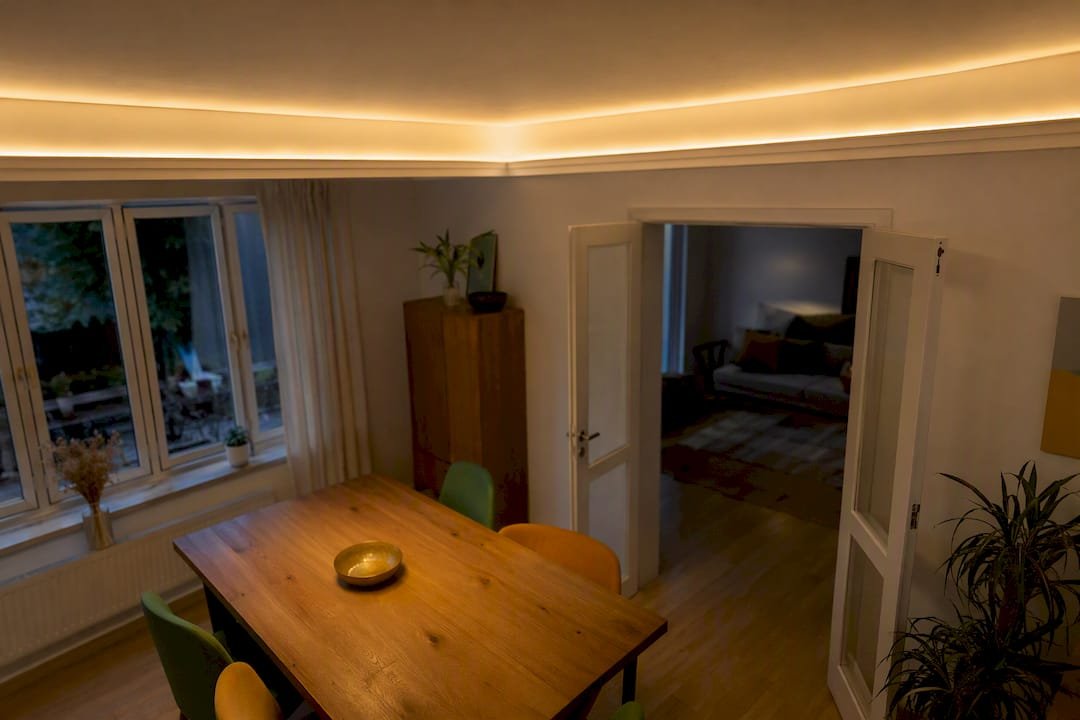
This is the one that makes a room look professionally designed instead of decorated. Run a tunable white strip inside crown molding or a recessed cove channel so the light bounces off the ceiling rather than hitting your eyes directly. Aluminum channel is worth the extra cost here since it hides the strip and diffuses the glow evenly. Difficulty: medium, a few hours depending on room size.
4. Bedroom Headboard Halo
Run a warm white or RGBW strip along the back edge of the headboard, facing the wall so light washes outward instead of shining into your eyes at 11 p.m. This is one of the most requested led strip decor ideas because it replaces two nightstand lamps with one dimmable source. Difficulty: easy, under an hour.
5. Under-Bed Ambient Glow
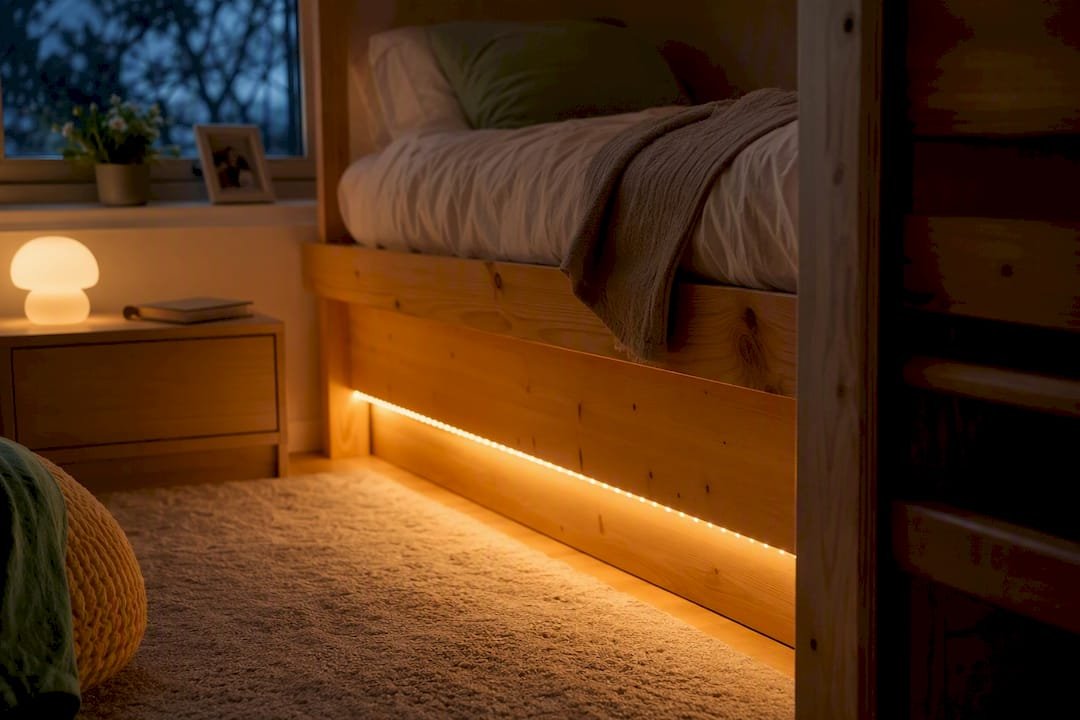
A warm or amber strip mounted on the underside of the bed frame creates a low, moody wash across the floor, useful as a nightlight that doesn’t wake anyone up. Skip cool white here; it reads clinical instead of relaxing. Difficulty: easy, about half an hour.
6. Vanity and Mirror Backlighting
Frame a bathroom or bedroom mirror with a neutral 4000K strip for makeup and grooming tasks that need accurate color rendering. Warm white will flatter your reflection but lie to you about your foundation shade. Difficulty: medium, about an hour.
7. Under-Cabinet Kitchen Lighting
This is consistently ranked as one of the best places for LED strips because it solves a real problem: dim countertops. A 3500K to 4000K strip mounted in an aluminum channel under cabinet fronts throws even light exactly where you chop and cook, and many under-cabinet projects run under $100 and finish in an afternoon. Difficulty: medium, a couple of hours.
8. Toe-Kick and Drawer Glow
A warm strip along the toe-kick base of your cabinets adds a subtle floating effect at night. Motion-activated strips inside drawers or a pantry closet are a small upgrade that pays off every single time you’re digging around for something at 6 a.m. Difficulty: easy to medium, about an hour.
9. Desk Bias Lighting and Monitor Backlight
A neutral white strip behind your monitor reduces screen glare fatigue during long work sessions, and a second strip under the desk edge adds a nice underglow for video calls. Gamers often swap to RGB for streaming setups where color syncing matters more than accurate white. Difficulty: easy, less than an hour.
10. Stairs and Hallway Safety Lighting
Recessed tread lighting or a hidden strip along the stringer wall makes stairs visible at night without a hallway light blasting everyone awake. Warm white or neutral white both work; the priority here is placement, not color. Difficulty: medium, a few hours for a full staircase.
11. Outdoor Railings, Steps, and Pergolas
Outdoor accents need a strip rated IP65 or higher, and RGBW gives you the flexibility to run white light for everyday use and color for parties. Deck-step edges and pergola beams are the two spots that consistently pay off in curb appeal. Difficulty: medium to advanced, several hours depending on wiring distance from a power source.
12. Creative and Thematic Accents
Geometric wall panels backlit with RGB strips, pegboard displays with hidden underglow, and music-reactive zones synced to a receiver are popular creative led strip lighting projects for game rooms and home bars. These take longer mostly because of planning the wiring path, not the actual sticking-down part. Difficulty: advanced, several hours.
Corners, cut points, and connector gaps eat into your run faster than you’d expect, and running short mid-install is a bad Saturday.*
How to Install LED Light Strips Without Common Failures
Getting the technical side right is what separates a strip that looks intentional from one that flickers, sags, or dies in six months.
Measure and plan power location first. Walk the entire run with a tape measure before you buy anything, and decide where the power supply will physically sit, since it needs ventilation and easy access to an outlet.
Calculate your power supply with headroom. Multiply the strip’s watts per meter by your total length, then add 20% on top. A properly sized power supply follows this exact watts-per-meter-plus-headroom method, and that buffer prevents the power supply from running hot at full brightness for years on end.
Choose 24V over 12V for longer runs. Voltage drop causes visible dimming toward the far end of a strip, and it shows up faster on 12V systems. Professionals typically cap series runs around 5 meters and instead feed power in parallel or inject power mid-run to keep brightness even across the whole length.
- Cut only at the marked scissors icons. Cutting anywhere else damages the circuit.
- Use solderless clip connectors for quick joins, or solder for a permanent, more reliable connection.
- Clean the mounting surface with rubbing alcohol before sticking anything. Skipping this step is the leading cause of adhesive peeling within weeks.
- Test the entire run on the floor, controller and power connected, before committing to adhesive or channel mounting.
On rough drywall, brick, or textured trim, skip the adhesive entirely. Aluminum channels or mounting clips hold strips far more reliably on uneven surfaces, and channels double as heatsinks that extend the LED’s lifespan.
Choosing Color Temperature and Controls That Look Intentional
Color temperature is what separates a room that looks designed from one that looks like a dorm project. Neutral white suitable for kitchens and task areas where color accuracy matters, and warm white fits bedrooms and cozy corners.
- Living rooms: 3000K for general ambience.
- Kitchens and offices: 3500K to 4000K for task clarity.
- Bedrooms and bias lighting: 2700K to 3000K for warmth.
- Entertainment and party zones: RGB or RGBW for color and mood.
RGBW earns its slightly higher price when you need an accurate white light alongside color, since standard RGB strips often render “white” as a dull, slightly pink or blue tint. If you see individual LED dots through a diffuser, switch to a COB strip, which spreads light from a dense chip array instead of visible points.
Pro Tip: Set warm white as your default scene and save colored modes for specific occasions. A strip running rainbow mode 24/7 stops feeling special within a week.
Smart controllers let you save scenes, set schedules, and sync multiple strips across a house so the kitchen and living room don’t clash in tone.
Outdoor Installs, IP Ratings, and When to Call an Electrician
Outdoor and damp-area installs live and die by IP rating. IP20 strips are indoor only and will fail fast if exposed to any moisture. IP65 handles splashes and light rain, which covers most railing, step, and pergola projects. IP67 adds stronger protection for strips facing direct exposure to weather or occasional submersion, like near a pool deck.
- Keep the power supply indoors or in a weatherproof enclosure, never sitting exposed on a patio.
- Route outdoor wiring through conduit or along protected edges, away from foot traffic and lawn equipment.
- Never undersize a power supply for outdoor runs. An overworked supply overheats and fails early, and channels help dissipate that heat.
- If the project involves hardwiring to household mains or running wiring near a pool or hot tub, hire a licensed electrician instead of improvising.
SavyCart Makes Sourcing Your LED Strip Project Easier
SavyCart stocks the accessories that most DIY strip projects actually run out of mid-install: mounting clips, metal screws for channel brackets, diffusers, and controllers, all at prices that don’t punish you for buying extra.
- Wide selection of LED accessories and hardware with fast shipping
- Affordable mounting supplies so you can overbuy slightly without regret
- Browse categories directly at SavyCart for strips, controllers, and power supplies
Safety Precautions Every DIYer Should Follow
Unplug the power supply before cutting, connecting, or repositioning any section of strip. Working live risks a short circuit and, on higher-wattage runs, a real burn hazard.
Never exceed the rated length for a single power run. Overloading a strip beyond its designed wattage causes overheating at the connector points first, which is usually where you’ll spot melted plastic or discoloration if something’s wrong.
Keep power supplies away from bedding, curtains, and anything flammable, especially for under-bed or headboard installs where the supply often ends up tucked close to fabric. Give it airflow.
If you’re drilling into walls to route wire, check for hidden electrical lines or plumbing first, particularly in kitchens and bathrooms where wiring density is higher than most people assume.
For outdoor or wet-area work, use only strips and supplies rated for that exposure, and never patch a damaged outdoor strip with indoor-rated tape or connectors as a shortcut. Water finds every gap eventually.
Finally, test every run fully lit before final mounting. A flickering section usually means a bad connection, and it’s far easier to fix on the floor than after it’s stuck to a ceiling cove eight feet up.
Energy Use and Environmental Impact of LED Strips
LED strips draw a fraction of the power that incandescent rope lighting once did, which is part of why they’ve replaced holiday lights and under-cabinet fixtures in most homes. Running a properly sized 24V system with correct headroom, rather than an underpowered or oversized supply, keeps consumption efficient and avoids the energy waste that comes from a strained power supply working harder than it needs to.
Dimming and scheduling through a smart controller cuts usage further, since most rooms don’t need full brightness lighting running for hours after everyone’s gone to bed. Setting a cove or accent strip to dim automatically after 11 p.m., for example, trims unnecessary runtime without any effort after the initial setup.
On the disposal side, LED strips last considerably longer than older lighting technology, which reduces landfill turnover from burned-out bulbs. That said, they’re still electronic waste at end of life, and tossing them in regular trash isn’t ideal. Many municipalities accept small electronics like LED strips and controllers at e-waste drop-off points rather than curbside bins.
Buying the right size the first time also has an environmental angle that’s easy to overlook: a strip cut short and returned, or a power supply that’s the wrong voltage and gets discarded, adds up. Measuring carefully before ordering isn’t just a money-saver. It’s the simplest way to avoid needless waste on a project that’s supposed to make your space better.
What Actually Matters in a Good LED Strip Project
Most advice on this topic treats color and gadgetry as the hard part. It isn’t. The hard part is power planning, and almost every disappointing DIY strip install traces back to skipping that step: wrong voltage for the run length, no headroom on the power supply, or adhesive slapped onto a textured wall that was never going to hold.
The conventional advice oversells RGB and undersells channels. Color-changing strips are fun for a party corner, but the projects that actually make a room look better, the cove lighting, the under-cabinet task light, the headboard halo, almost always use plain white or tunable white in a proper aluminum channel. That’s not exciting advice, but it’s the difference between a strip that looks built-in after two years and one that’s peeling off the wall by month three.
If you take one thing from this list, prioritize the boring stuff first: measure accurately, size your power supply with headroom, and mount with clips or channel on anything that isn’t perfectly smooth drywall. The color temperature choice is the fun part. It’s also the last decision that matters.
Get Everything You Need for Your LED Strip Project in One Order
Skip the multi-store scramble for connectors, clips, and controllers. SavyCart carries the mounting hardware, diffusers, and accessories that LED strip projects actually need, bundled with the fast shipping and low prices that make buying a little extra padding for your project painless instead of costly.
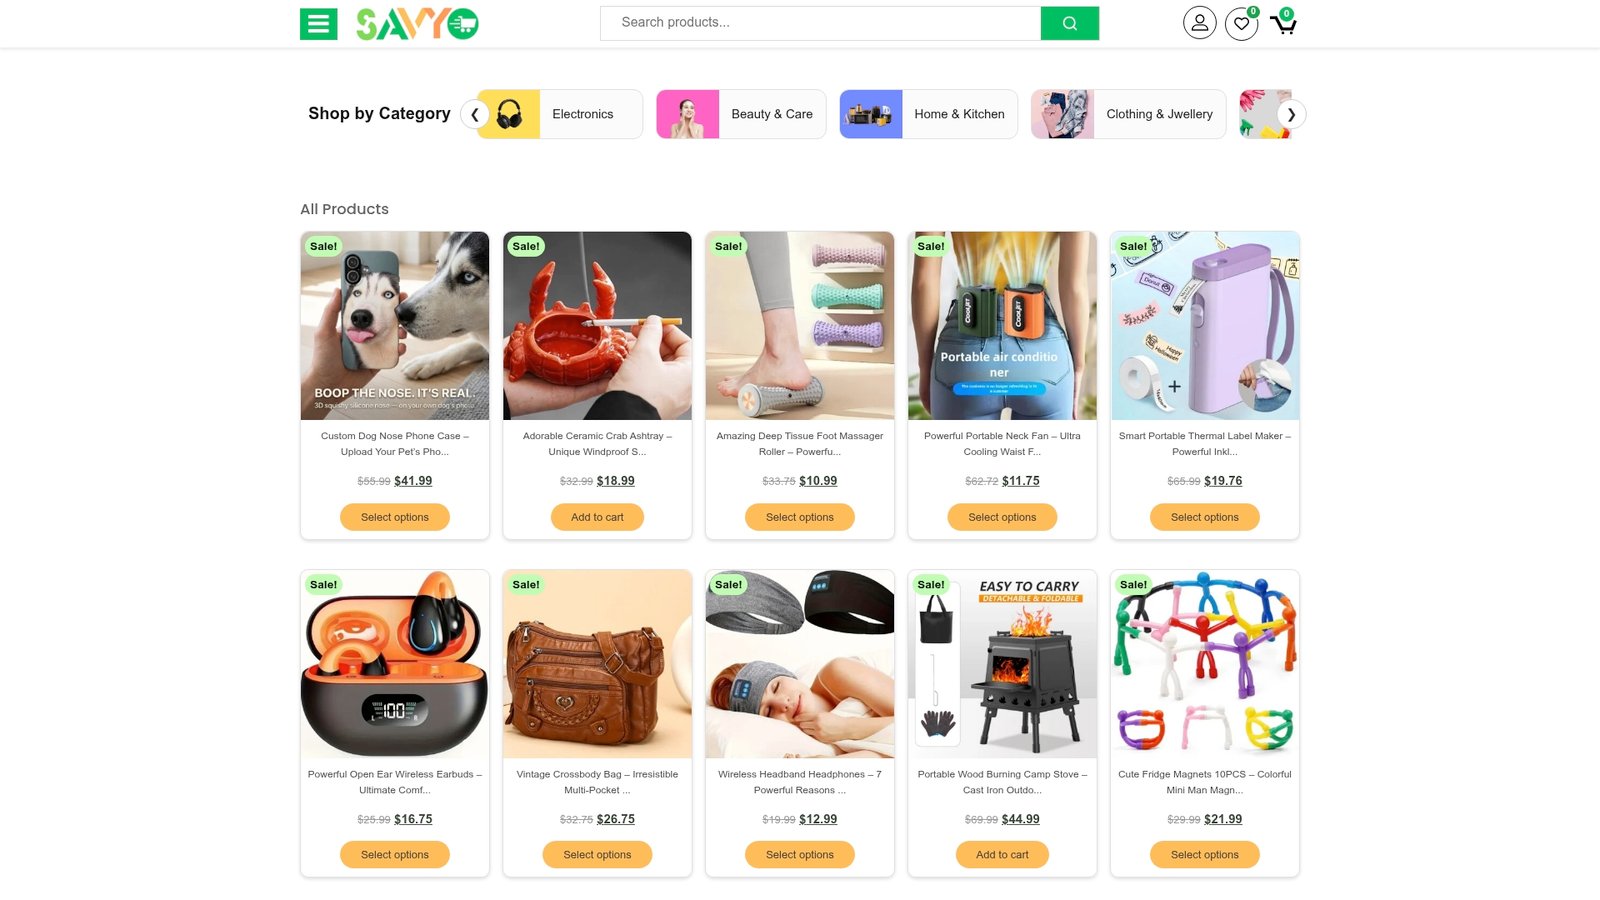
Whether you’re wiring a headboard halo this weekend or planning a full outdoor deck accent job, browse SavyCart’s electronics and hardware categories before you start, not after you’re missing a connector mid-install. Check shipment tracking once your order’s placed so your parts arrive before your Saturday project window closes.
Sources
- How to Install LED Ribbon Strip Lights: Complete Guide (2026) – Conversions Tech
- 33 LED Strip Ideas To Transform Your Space Fast – WoodyWalls
- How to Install LED Strip Lights – Home Depot
- LED Strip Lights: Complete Installation Guide | Empire LEDs
FAQ
What Can I Do With LED Strip Lights?
You can add task lighting under cabinets, ambient glow around a headboard, safety lighting on stairs, bias lighting behind a TV, and accent lighting on outdoor railings or pergolas, all using the same basic strip with a different color temperature or mounting method for each.
What Are Some Cool Projects for LED Strip Lights?
Popular projects include backlit geometric wall panels, music-reactive zones synced to a receiver, pegboard display lighting, and ceiling cove lighting that makes a room look taller without any construction.
How Do I Make LED Strips Look Good Instead of Cheap?
Use aluminum channels instead of raw adhesive strips to diffuse hotspots and hide the LED chips, pick a color temperature suited to the room instead of defaulting to bright white, and mount strips so the light bounces off a surface rather than shining directly at eye level.
Should I Choose RGB or RGBW Strips?
Choose RGBW if you want an accurate white light option alongside color, since standard RGB strips often render white with a slight color tint; choose plain white or tunable white strips for task lighting where color accuracy and brightness matter more than mood effects.
Do I Need a Professional for LED Strip Installation?
Most low-voltage LED strip projects are DIY-friendly, but hire a licensed electrician for any project that involves hardwiring to household mains power or installing near water, such as a pool deck or bathroom vanity.
Recommended
- SavyCart – Spend Less, Shop Big
- 50 Pcs M3.5 Black Cross Flat Head Sheet Metal Screws – Carbon Steel Wood Screws for Furniture, DIY & Home Maintenance – SavyCart
- This $14 Keyboard Cleaner Tool Kit Is Blowing Minds
- Magcubic HY300 Pro 8K Projector – Android 14 Home & Outdoor Cinema with Dual WiFi6 – SavyCart